Reassembling the Macbook Spacebar
The spacebar on my Macbook Pro seemed to be get stuck so I decided to remove it to give it a clean. It turns out it wasn’t dirty. My external bluetooth keyboard was nearby in my briefcase with the spacebar held down. It took me a while to work that out. Idiot.
Anyway, I followed one of online guides about how to pry the spacebar key off, but found nothing useful about how to put the pesky white hinges back together. They’re a pain in the ass. They’re easy to put back together if you know what they’re supposed to look like, but every time I’ve had to do this I’ve had to work it out again.
This short guide explains the process so that I never forget again.
Outcome
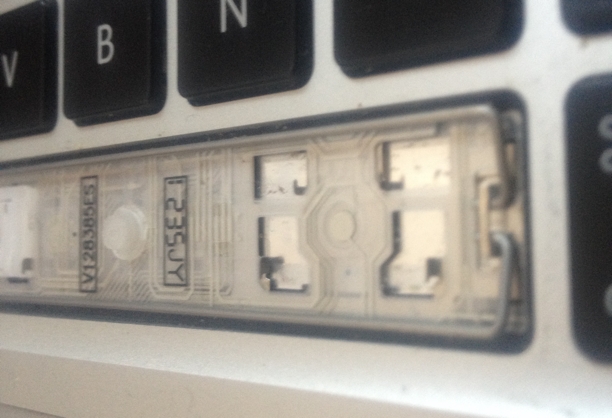
This is what it looks like when everything is correctly assembled.
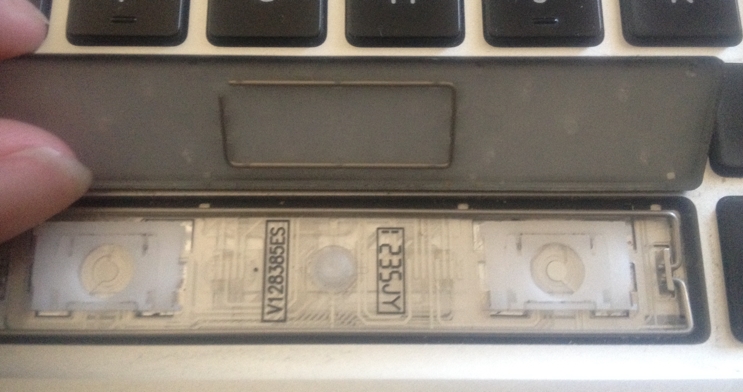
The key parts are:
- two metal bars attached to the chassis, running along top and bottom.
- metal bar clipped in place at the centre of the spacebar
- white plastic hinges gently clipped in place against hooks on the chassis, perfectly flat
- spacebar in place so the four clips on its underside align with the correct side of each hinge (two close, two wide)
Reassembling the white plastic hinges
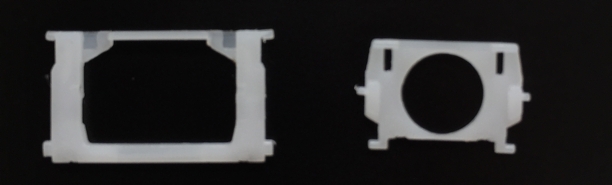
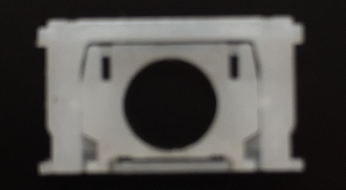
The hinges can pop apart into two pieces, one that looks like a an alien ship in space invaders and the other that holds it. They fit back together so that they’re flush with each other.
To get them back together note:
- They both have a flat side and a bumpy side. These must be on the same side for both pieces.
- The larger piece has a tiny hole on the inside of both sides into which the smaller piece’s fits/pivots.
The smaller piece can be clipped into place by slightly bending it, only about 1/2 a millimeter so its two nibs fit inside the holes of the larger part. If they are correctly aligned, they’ll be perfectly flush with each other and pivot at the centre.
Attaching the hinges to the chassis
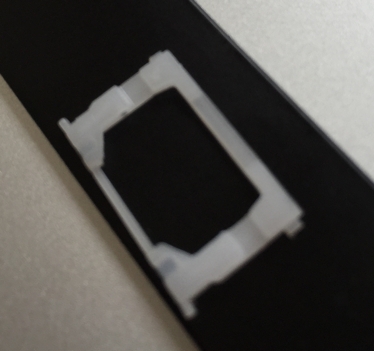
If the hinges are correctly assembled, they clip into place on the keyboard chassis.
The chassis has two sets of hooks. Place the hinge against the two closest to the base of the keyboard (the larger piece), then clip the other side into place (the smaller piece). It will be flat side up.
Attaching the spacebar to the hinges
As long as it’s aligned correctly, the spacebar can be placed on top of the hinges and clipped into place. It will attach to the upper and lower bar by pressing along the edge of the key with fingers. Then carefully press along the centre ensuring it clips onto the white hingers. All parts need to reconnect for the space key to be usable.
Let me know if this helped you out too.